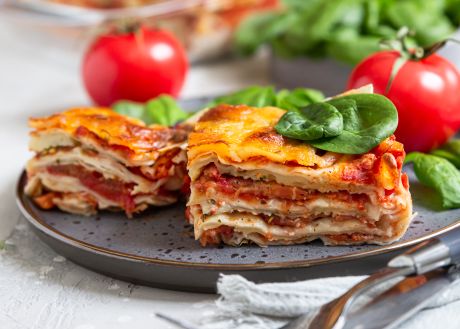
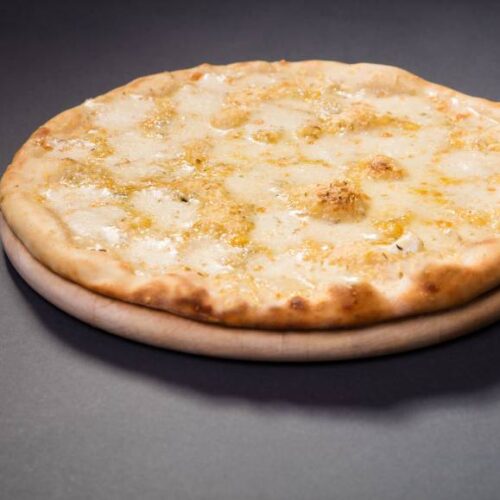
I honestly don’t know anyone who doesn’t enjoy pizza. I mean, what’s not to like? A flat type of dough rolled out to ones’ liking, dependent upon which mood you’re in, you can opt for a thick crust or a thin and crispy one. Slather it with a hot, mild, or tangy tomato sauce, add your toppings, and don’t forget the cheese. In our house, we’ve adopted the tradition of homemade pizza on Friday nights. It’s reminiscent of when I was a child and remembering my Dad order pizza from his favorite pizza joint, usually on Saturday nights. Unfortunately for myself, I don’t live close enough for pizza delivery, but at the same time, it’s a good thing because it gives me the opportunity to share a tradition with my kids.
Pizza has been around for many years, as early as the 10th century, but this popular round dish as we know it was labeled as pizza in Naples in the early 1600s. Fast forward to 1905, where the first pizza shop opened in the United States in the state of Manhattan, to the 1930s, when pizza sales flourished. Today, you can find pizza just about anywhere.
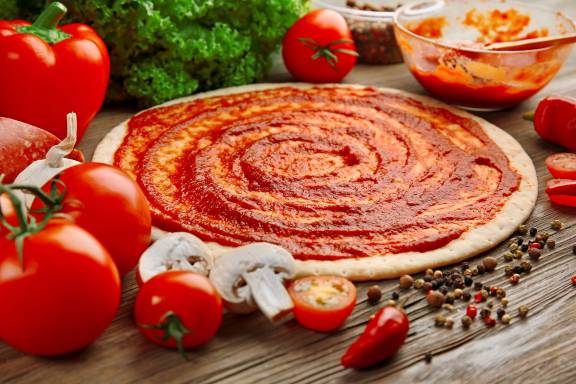
I love using Bisquick to make my pizza dough. Not only does it add a great flavor, but it saves time on prepping as well. You won’t believe how simple this first recipe is.

Bisquick Pizza
Ingredients
- 1 package active dry yeast
- ¾ cup warm water
- 2½ cups Bisquick
Instructions
- If you want to add a little extra flavor to the dough, I recommend using ¼ tsp of garlic powder.Some recipes state to add everything in a mixing bowl at once, but I prefer to allow the yeast to rise in the water before adding the Bisquick. Add one package of dry yeast to the three-quarter cup of water and let rise. This usually takes approximately ten minutes
- Add the two-and-a-half cups of Bisquick, and mix well
- Preheat your oven to 400 degrees. Knead the dough until it is soft and has some elasticity to it
- Roll the dough and place it on the pans to bake. Be sure to grease the pans first. You may have to stretch the dough using your fingers to fit the pan. There’s no need for these to rise, so go ahead and add your sauce and toppings of choice.
- Bake for fifteen to twenty minutes.
Gluten-Free Bisquick Cauliflower Pizza
Ingredients
- 6 cups riced cauliflower
- 2 cups gluten-free Bisquick
- 4 eggs
- 2 tsp salt
- ½ tsp garlic powder
- 1 tsp dried basil
Instructions
- Preheat oven to 425degrees.
- Mix the six cups of riced cauliflower with the two cups of gluten-free Bisquick, four eggs, 2teaspoons of salt, one-half teaspoon garlic powder, one teaspoon dried basil, and mix well.
- This dough will look different from the traditional pizza dough, but you should still be able to divide it into two to three crusts. I strongly recommend using parchment paper to line your pans, as this crust has a tendency to stick.
- Press the dough onto the pans using your fingers (If you find the dough sticky, you can add a little Bisquick).
- Bake the crust for ten to fifteen minutes before adding any toppings
- Remove from the oven and proceed like you normally would, adding sauce and all your favorites.
- Bake for another five to 10 minutes and enjoy!

Chocolate Bisquick Dessert Pizza
Ingredients
- 2½ cups Bisquick
- 1 envelope rapid rise yeast
- 2 tbsp sugar
- 2 tbsp cocoa powder
- ⅔ cup warm water
- 1½ tbsp melted buter
Instructions
- Preheat oven to 375 degrees.
- Add the envelope of rapid rise yeast and two tablespoons of sugar to the two-thirds cup of warm water and stir well.
- Mix in the two and one-quarter cups of Bisquick, along with the two tablespoons of cocoa powder and melted butter.
- Knead the dough on a lightly floured surface or place in a mixer on the dough setting until it has an elastic-type feel.
- Roll the dough and transfer it to a lightly greased or parchment paper-lined baking pan.
- Work the dough using your fingers to stretch until it fits the pan.
- Bake for approximately fifteen to twenty minutes, being careful not to burn the crust.
- Once the crust has cooled, you can add toppings of your choice. A favorite of mine is to spread a container of whipped cream on top and add fruit slices such as strawberries, blueberries, bananas, and pineapple.
- I’d be lying if I said I only had one favorite. Another one is placing enough Nutella on top to covert he crust, adding sliced strawberries and slivered almonds. And one more we enjoy, especially in the summer, is an ice-cream version.
- Simply scoop your favorite ice cream onto the top of the crust and go crazy, adding toppings such as cookie crumbs, chocolate or caramel sauce, sprinkles, or whatever you enjoy. The possibilities are endless.
There are so many varieties of pizza, from store-bought to homemade. I hope you take the time to try one of these recipes and perhaps start a tradition of your own. Happy eating!